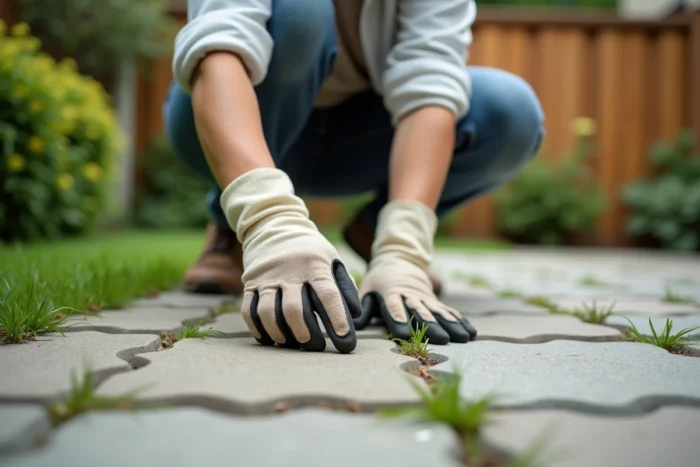
Weeds between interlocking pavers are not a gardening problem. It is a construction issue. The condition of the joint, the quality of the bedding layer, and the drainage determine the recurrence of weed growth much more than the choice of herbicide.
Installation Defects of Interlocking Pavers and Chronic Weeding
Why do weeds consistently return to the same spot, sometimes just a few weeks after a thorough cleaning? The answer is rarely on the surface.
Field reports converge on one observation. Localized and recurring weed growth almost always signals a defect beneath the surface. Insufficient thickness of the sand bed, failed compaction, absence of geotextile under the bedding layer: these mistakes create pockets where water stagnates and organic matter accumulates.
A paver that moves, even by a few millimeters, gradually widens its joint. Traditional sand compresses or washes away with runoff. The empty joint becomes a micro-cultivation basin, protected from foot traffic, supplied with water and nutrients by the decomposing leaves that settle there. Choosing the right herbicide for interlocking pavers is not enough if the joint empties again within a few months.
Before any surface intervention, the stability of the pavers must be inspected. A paver that sounds hollow when stepped on or wobbles underfoot indicates a degraded bedding layer. In this case, redoing the jointing without correcting the base is like repainting a cracked wall.
Polymer Sand for Paver Joints: A Barrier Against Seeds
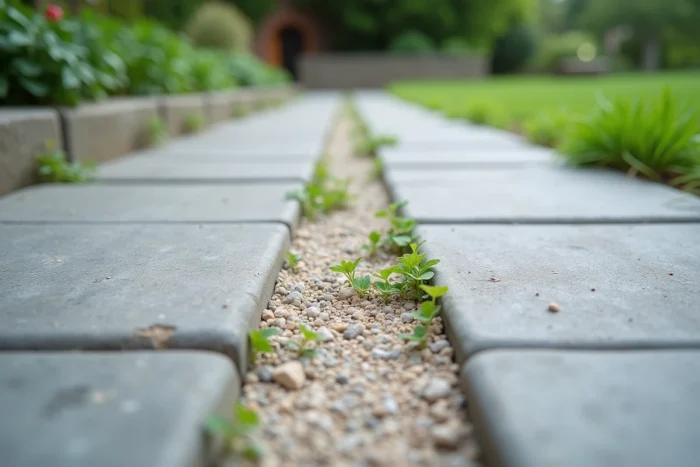
Traditional jointing sand remains loose after installation. It absorbs water, shifts under rainfall, and leaves spaces where seeds can settle. Polymer sand works differently: it hardens after watering and forms a rigid surface in the joint.
Batinfo mentions a polymer sand (DR+) designed to stabilize paved structures. This rigidity prevents seeds from taking root, but it also blocks the leaching of the joint by rainwater, eliminating the vicious cycle of empty joints, organic accumulation, and germination.
Conditions for Installing Polymer Sand
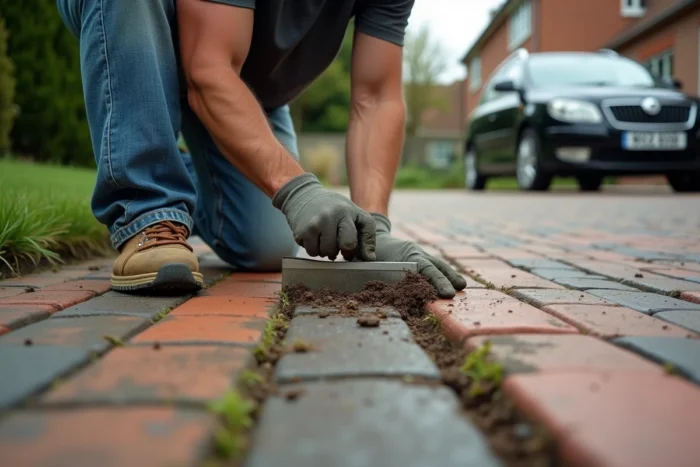
The product activates with water and requires a drying time without rain. Application on damp joints or partially filled with debris compromises adhesion. The prior cleaning of the joints (vacuuming, scraping, blowing) directly affects the product’s performance.
- Completely remove the old sand from the entire depth of the joint, not just the surface. A loose residue beneath the polymer creates a weak point.
- Ensure that the pavers are stable and level before filling. The polymer solidifies the existing state, including defects.
- Adhere to the minimum joint width indicated by the manufacturer. A joint that is too narrow will not retain enough material to harden properly.
The longevity of polymer sand varies according to climate and application quality. Some users report several years of performance without regrowth, while others observe cracks as early as the second winter, especially in regions subjected to frequent freeze-thaw cycles. The quality of the product and the rigor of installation are as important as the active ingredient.
Geotextile and Drainage: What Happens Beneath Interlocking Pavers
A geotextile placed under the sand bed serves two functions. It prevents deep roots from rising through the structure, and it separates the layers (gravel, sand) to prevent the sand from migrating downward and causing the pavers to sink.
The absence of geotextile is a design flaw, not a minor oversight. Without this membrane, rhizomatous weeds (couch grass, bindweed) penetrate the bedding layer and emerge in the joints. No surface treatment can compete with a root growing from the natural soil beneath the slab.
The Role of Drainage in Prevention
A soil that poorly drains water keeps the joints constantly damp. This moisture promotes germination and moss development, which in turn retains organic particles and creates a fertile substrate.
- A minimum slope must direct runoff water to an outlet (drain, catch basin, drainage area).
- A bedding layer of crushed gravel, well compacted, drains water faster than a fill of earth or fine sand.
- The peripheral borders must allow lateral flow and not create a depression where water stagnates between the pavers.
Proper drainage reduces residual moisture in the joints and slows the establishment of mosses and grasses. It is a preventive measure that high-pressure cleaning or thermal weeding cannot replace.
Regular Maintenance of Pavers: Frequency and Actions That Limit Regrowth
Regular sweeping is the most underestimated action. Dead leaves, dust, and plant debris form a layer of organic matter sufficient for a seed to germinate in a joint, even a polymer one, within a few weeks.
A sweep or blower every two to three weeks during the growing season (March to October) removes this substrate before it compacts. The goal is not aesthetic cleanliness, but the elimination of the nutrient medium.
High-Pressure Cleaning: Precautions on Joints
The pressure washer is effective against established moss, but it can empty traditional sand joints in a single pass. On polymer joints, excessive pressure or a too-focused nozzle can crack the binder. Using a rotating nozzle at a reasonable distance preserves the joint while removing organic deposits.
Applying a water-repellent treatment after cleaning slows down the re-humidification of the surface and limits moss development. This type of product does not kill existing weeds, but it modifies surface conditions to make germination less likely.
Sustainable weed prevention on interlocking pavers relies on three levels that work together: correct installation with geotextile and appropriate drainage, stable jointing (preferably polymer), and regular maintenance that removes organic matter before it becomes a breeding ground. Neglecting any of these levels leaves the door open for regrowth, regardless of the care given to the other two.