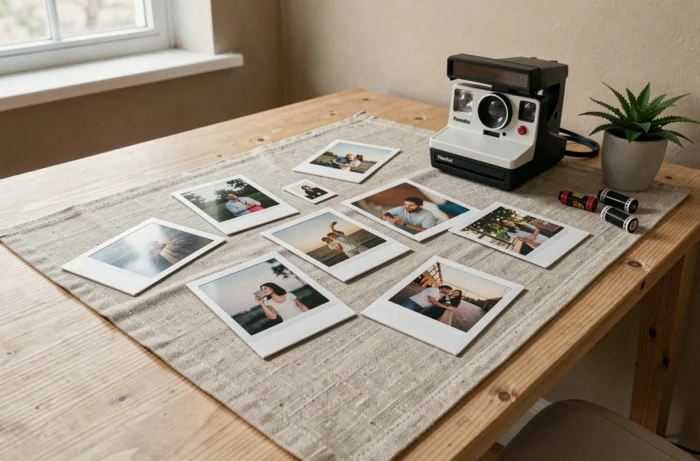
A Polaroid photo does not dry: it develops. The instant print contains layers of chemical reactants that migrate between each other after the film is ejected. This process takes several minutes and directly depends on the ambient temperature and humidity. Accelerating this development without damaging the image requires some specific precautions.
Here are seven concrete techniques to obtain a stable print faster, without compromising color quality or the film’s surface.
1. Lay the print flat with the image side up
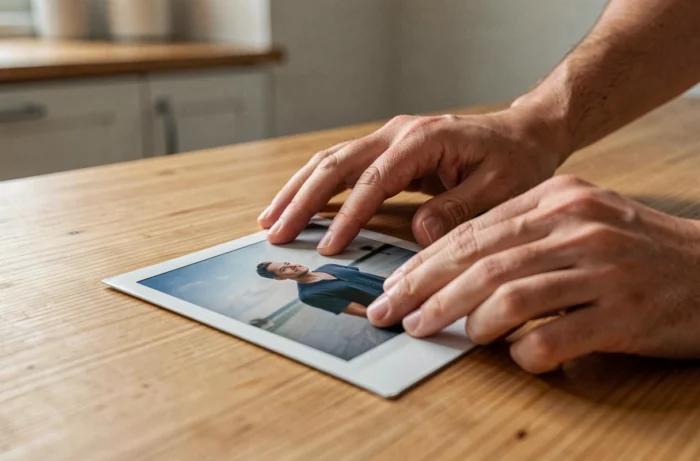
The first thing to do after ejection is to lay the print flat, image side facing up. The internal chemistry of the instant film distributes by gravity among the different layers. If the print is tilted or turned over, the reactants migrate unevenly and create color waves, especially in the lower part of the image.
Several tips for drying a Polaroid photo circulate online, but this remains the prerequisite for all others. Without a flat surface, no complementary method will yield a homogeneous result.
Polaroid’s official recommendation is clear: let the photo develop flat, without handling it, as the image forms through internal chemistry and not agitation.
2. Place the print in a dry, temperate room
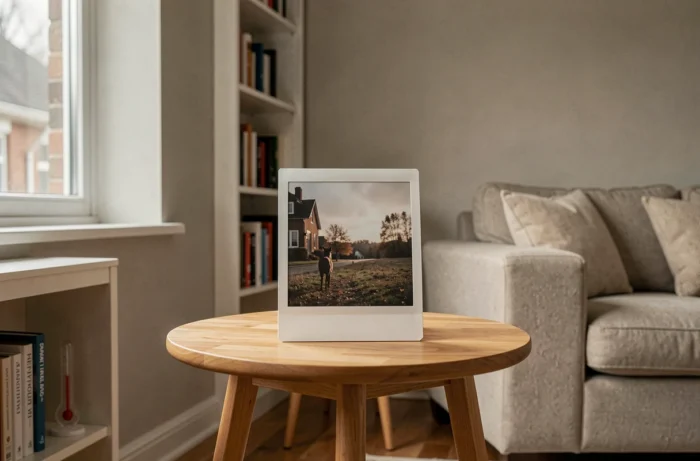
Humidity in the air significantly slows down the film’s development. A print placed in a bathroom after a shower will take much longer to stabilize than one placed in a ventilated living room. A dry environment speeds up drying, while humid air slows it down.
Temperature also plays a direct role. Temperate air promotes the internal chemical reaction of the film. Conversely, a room that is too cold freezes the reactants and produces prints with dull or incomplete colors.
The good reflex: choose a room with a stable ambient temperature, neither too hot nor too cold, with good natural air circulation.
3. Protect the film from direct light during development
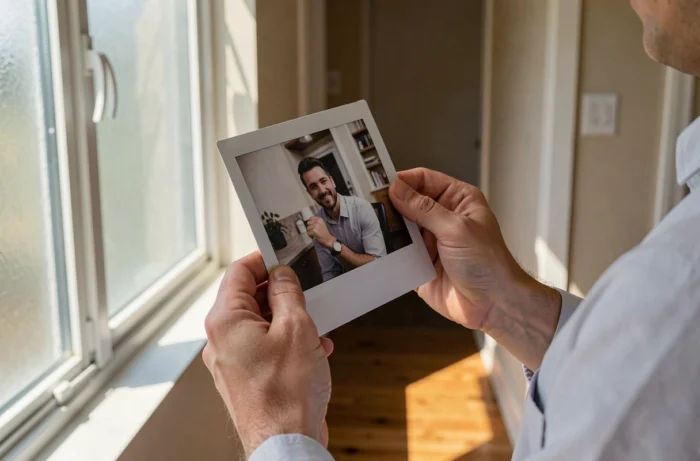
The first seconds after ejection are the most critical. Instant film is sensitive to UV light until the chemistry has finished its work. Exposing a print to direct sunlight during development degrades the pigments and causes yellowish tints or washed-out areas.
The simplest method is to turn the print face down against the flat surface for the first minute, then turn it back face up after a minute, once the image starts to appear. It can also be slipped under a book or into an opaque pocket.
This protection only concerns the active development phase. Once the print is stabilized, normal ambient light poses no problem.
4. Use a gentle, indirect heat source
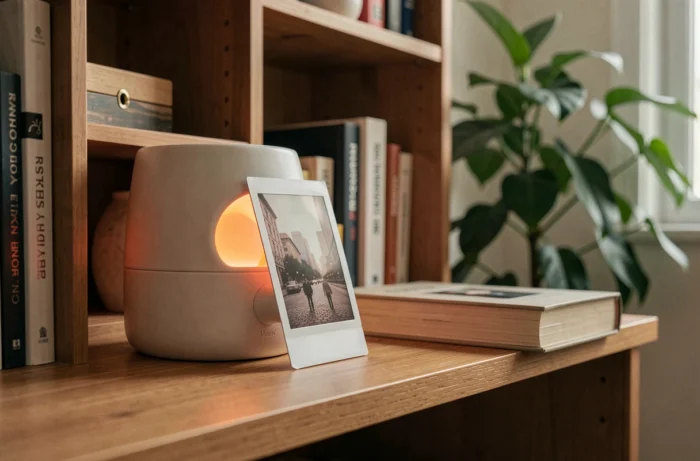
Moderate heat stimulates the chemical reaction of the film and reduces development time. Placing the print near a desk lamp (without direct contact) or in a slightly heated room is enough to speed up the process.
On the other hand, direct heat damages the print. Hair dryers, full-power heaters, or a car dashboard in summer should be avoided. The film’s surface can warp, colors can shift, and the protective layer may blister irreversibly.
- Acceptable: proximity to an incandescent lamp, heated room at ambient temperature, top of a warm electronic device
- Avoid: hair dryers, ovens, fan heaters, prolonged exposure to sunlight
- Prohibited: microwaves, irons, any heat source by contact
5. Never shake the print
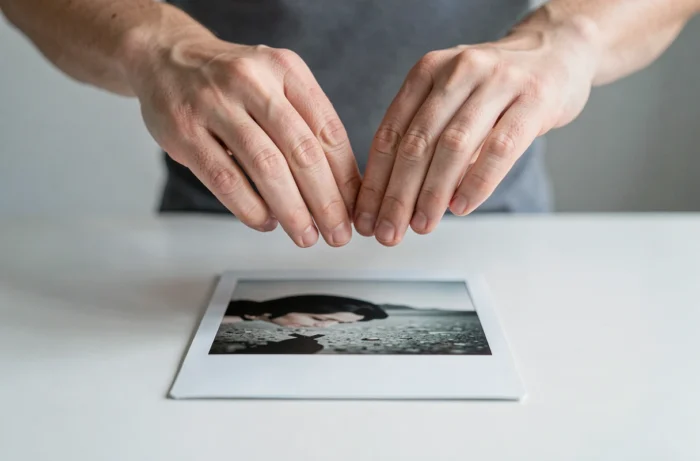
The most common reflex is also the most harmful. Shaking a Polaroid print does not make it dry faster. Shaking distorts the photo and causes waves in the chemistry, leading to poor distribution across the film.
Modern films work differently from older generations: the chemistry is sealed between two layers and has no contact with outside air. Therefore, shaking the print has no effect on the development speed.
The only useful handling after ejection is to hold the print by the lower white edge to lay it down, then not touch it again.
6. Slide the print into a dark pocket immediately after ejection
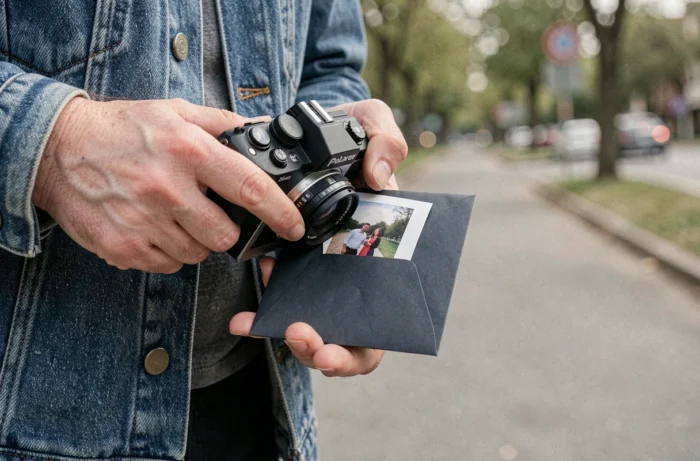
Outdoors, the combination of bright light and wind can slow down development and alter colors. Slipping the print into a jacket pocket or an opaque bag immediately after taking the shot creates a protected micro-environment: darkness, slight body heat, absence of drafts.
This technique is particularly useful in winter when the cold slows down the film’s chemical reaction. Body heat maintains a sufficient temperature for the reactants to continue working normally.
After a few minutes, the print can be taken out and exposed to ambient light to check the result.
7. Wait the full development time before judging the result
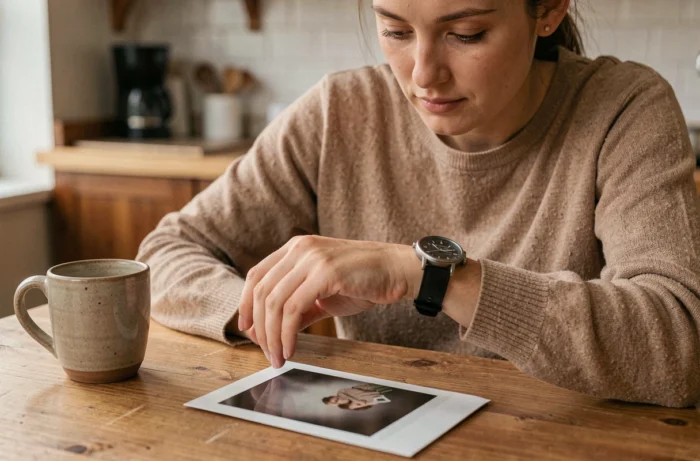
Patience remains the most reliable technique. An instant print takes several minutes to reach its full color stability. Judging colors or contrast too early leads to false conclusions and prompts unnecessary handling.
The final colors only appear once development is complete. A print that seems dull or greenish after two minutes may reveal rich and balanced hues after the full reaction time.
All the previous tips—flat surface, dry room, gentle heat, protection from light—aim to optimize this development time. None eliminate it. Instant film obeys its own chemistry, and the best way to obtain a sharp print is to let it finish its work without interference.